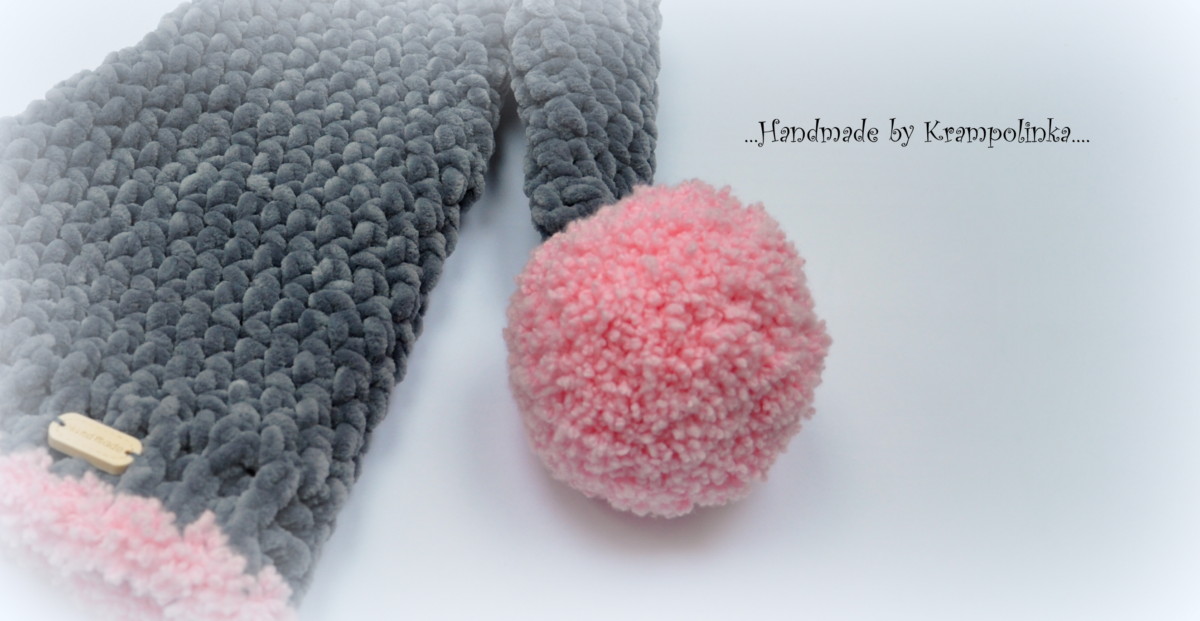
Today I would like to present a second type of a crochet pompom.
I tried this type around Christmas time but did not have enough time to take pictures till today. To make this type of a pompom is also very easy and fast and it has many advantages:
- lower yarn consumption in comparison to traditional pompom making
- it is a fast project
- it is easier to attach it to the work
- no loosen strings a baby can chew on
- you can make any size you need
- you need to crochet pretty tight not to have wide gaps the stuffing could go through (if you do, change the hook for smaller size)
- from this type of yarn you can make at least 4-5 pompoms
Curly crochet pompom, size 10-11 cm/4.3 in
We need: Kartopu Anakuzusu, picture here
Yarn alternatives: Red Heart Buttercup, picture here , Himalaya Toffee, Vlnika Daja, Rachel or Kala, YarnArt Happy – with this types you need to change the hook size
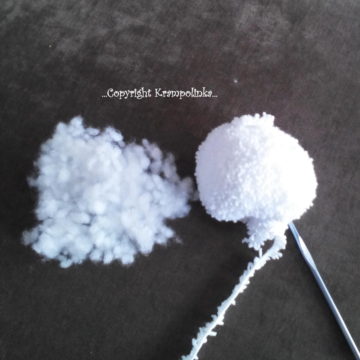
Stuffing for the pompom, picture here
Hook: 5 mm (or the one according to the yarn chosen)
Time: at about 20 minutes
Suitable for beginners
US terminology:
MC – Magic Circle
Sl St – slip stitch
CH – chain stitch
HDC – half double crochet
2HDC tog – crochet two HDC together to make one HDC
Each row starts with 2 CH = Half Double Crochet and ends with SlSt. This not apply if you crochet in circles.
1st row: 10 HDC into MC, SlSt

2nd row: 2 HDC into HDC from the previous row, SlSt (20 HDC)

3rd row: crochet scheme 1 HDC, 2 HDC, repeat, SlSt (30 HDC)

4th row: HDC into HDC from the previous row, SlSt (30 HDC)
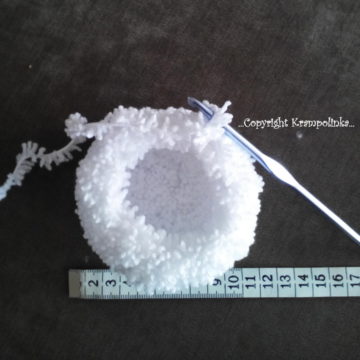
5th row – till the end: 2HDC tog, repeat. Crochet in circles, do not forget to stuff your pompom. Continue till there is no hole. You should end up with a ball-shape-like pompom.
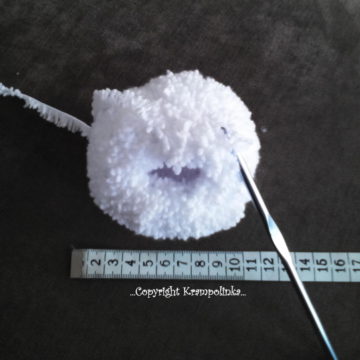
Stuff your pompom before the end.
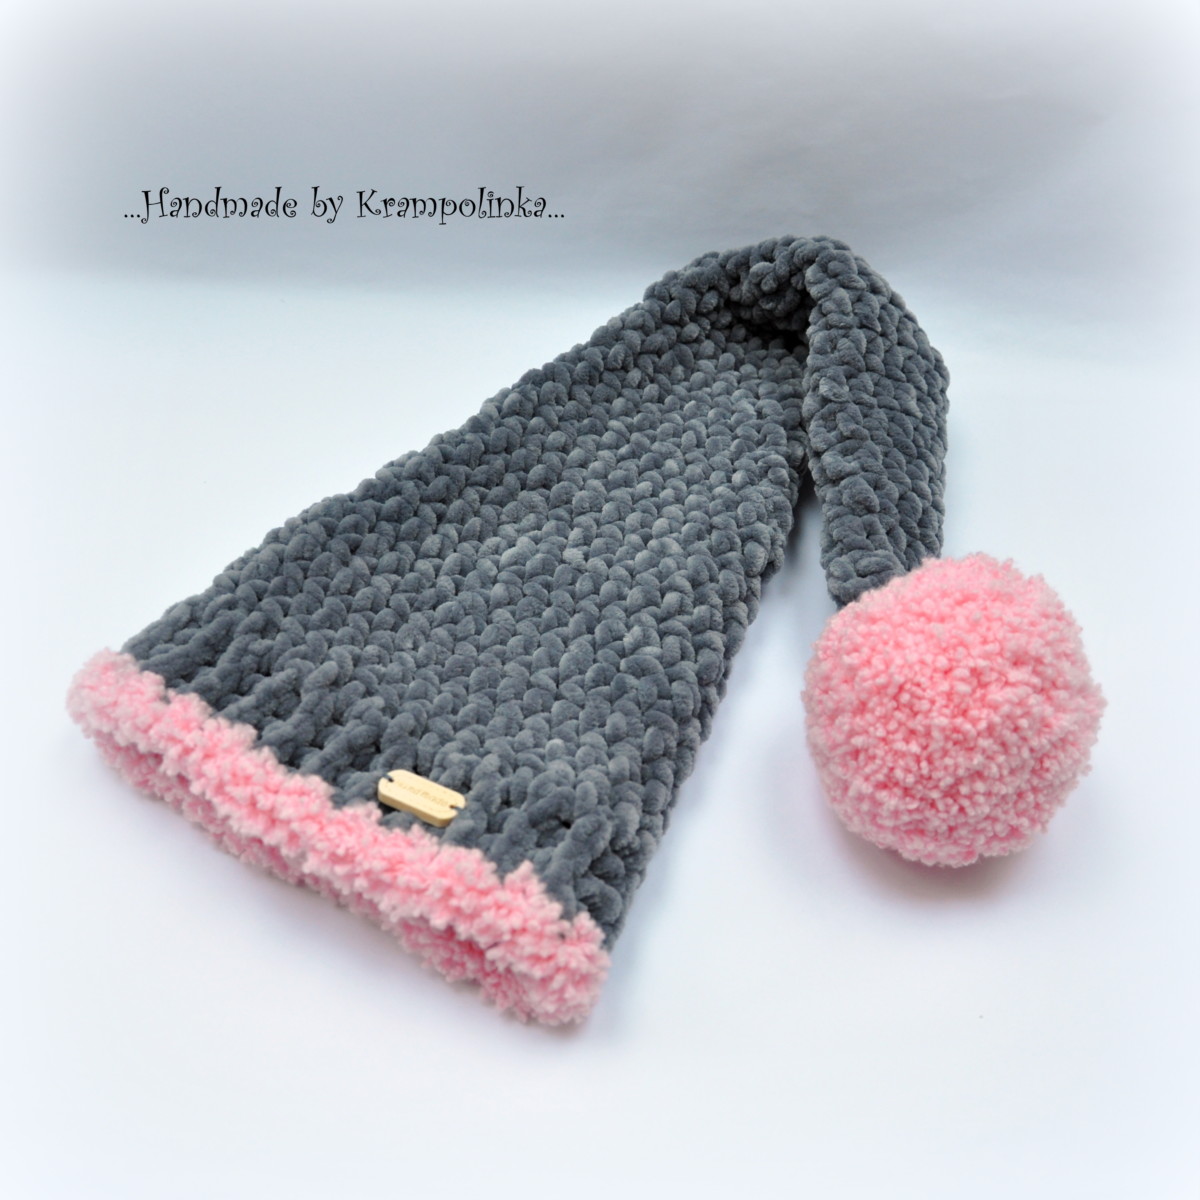
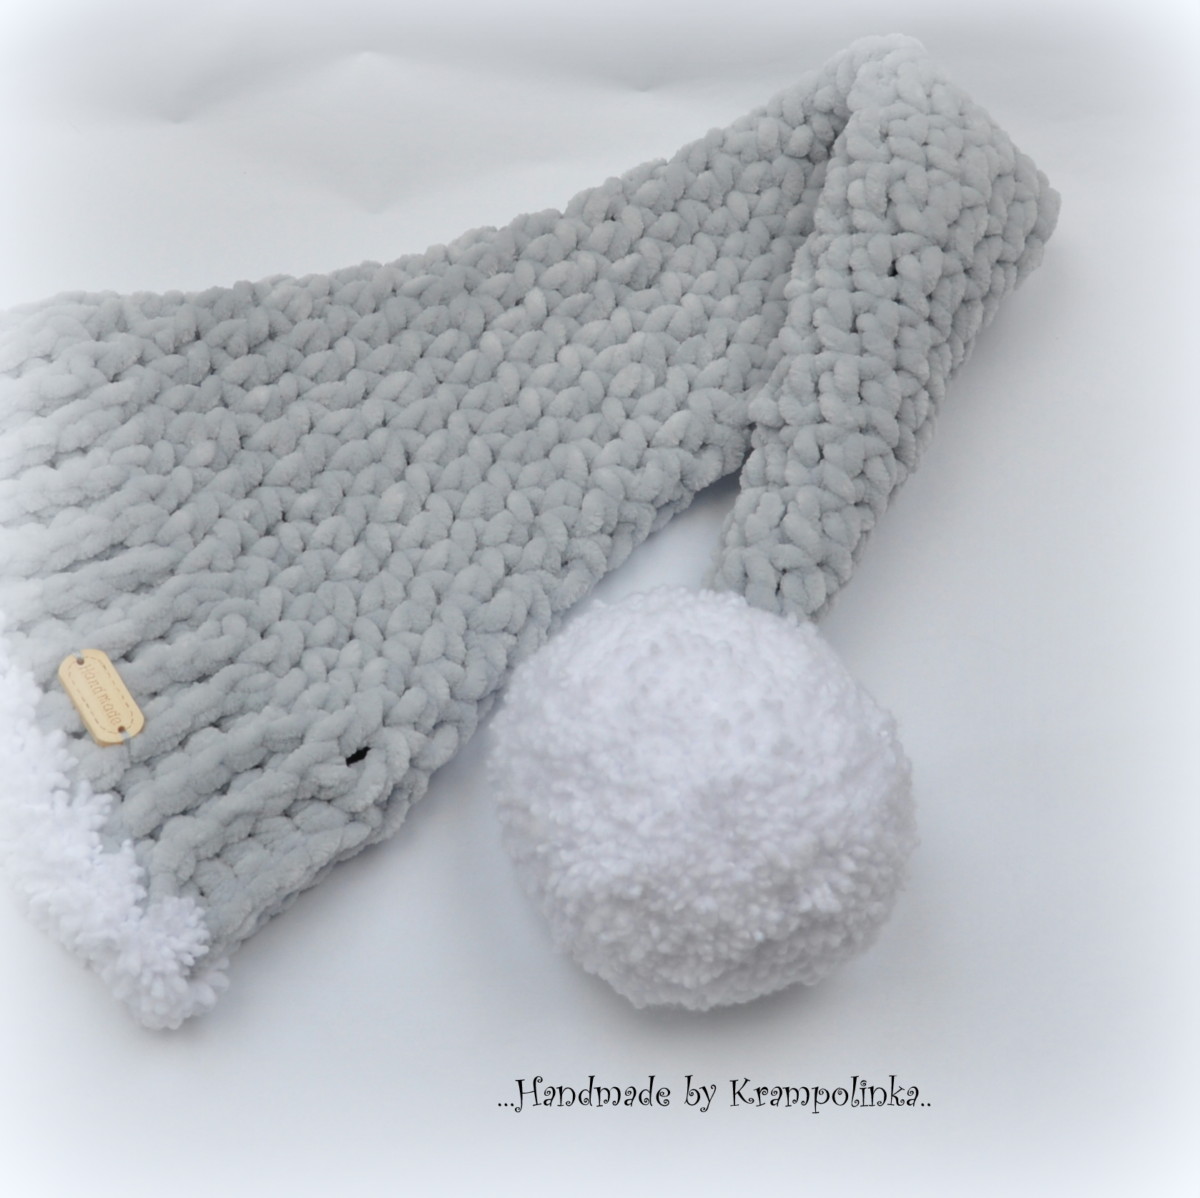
This is a curly crochet pompom

Take the end which leads from the magic circle and pull through the pompom. Secure with a knot with the other loose end. Before sewing this pompom to the work, go through the both loose ends above the knot to secure it and after that it is ready for attaching to e.g. hat.
That it is. Please click on any advertisement or share this pattern on social networks as a “thank you” for this free pattern.
If you have any questions please leave me a message, send me an e-mail or you can contact me on my FB page Krampolinka.
You can also subscribe to this website in order not to miss any new free patterns.
Thank you very much for your visit.
Katy
-

- Skřítkovská tm šedá

No Comments