
Winter is definitely here. I cleaned my garden and told her “Good Winter night” and on my way home I switched to the winter mood.
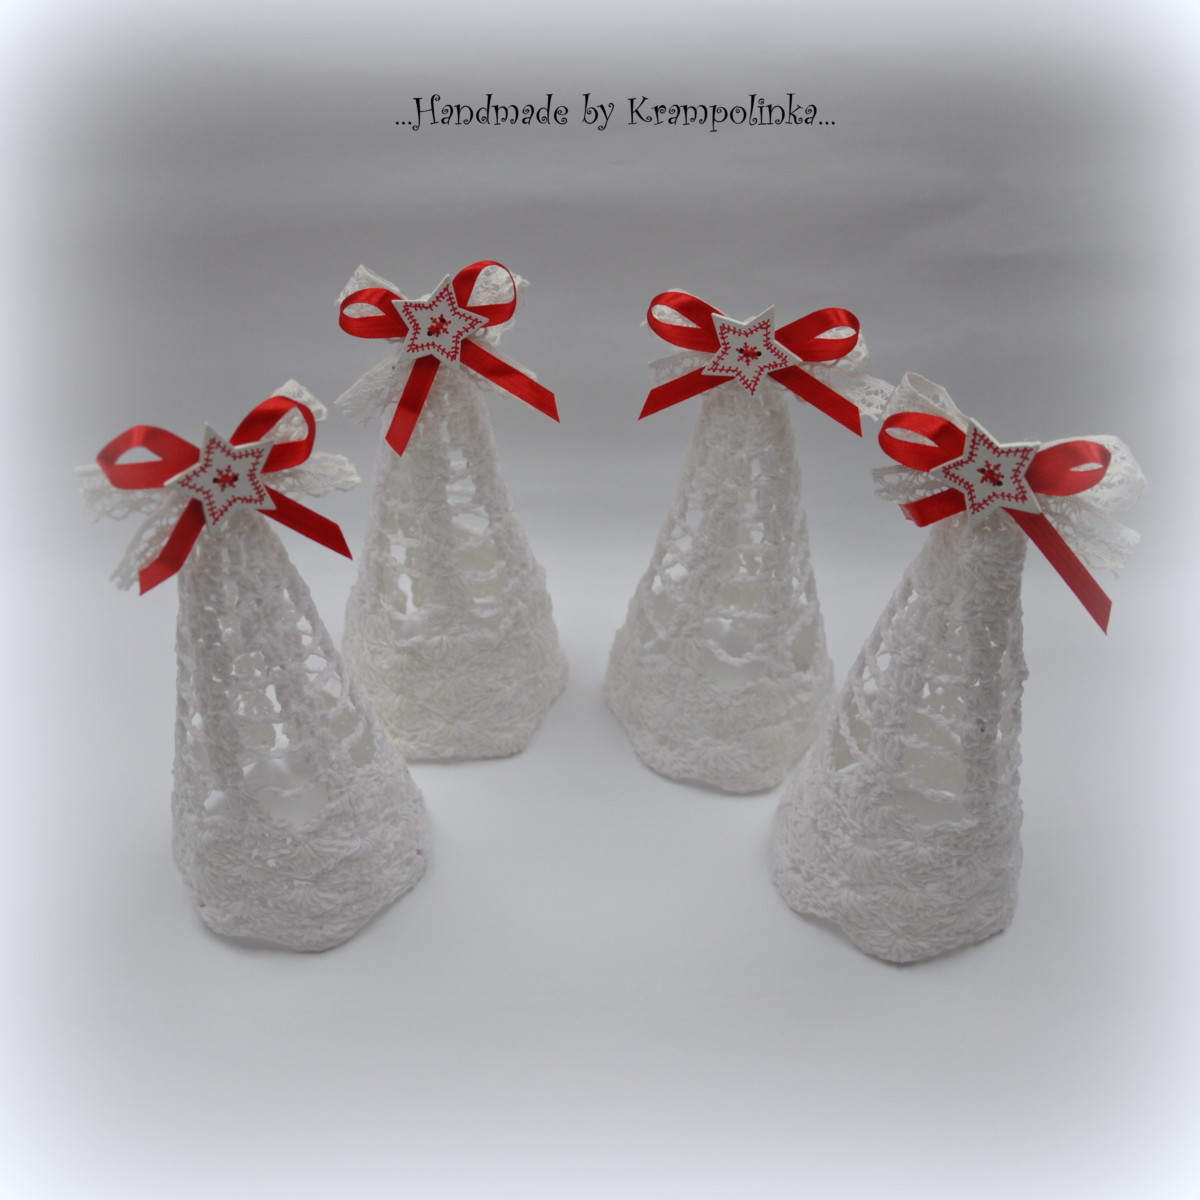
And as I was thinking about Christmas and Advent time I got the idea to crochet an unusual decorative tree. Not one but four of them and make it into an Advent Wreath. And there is the pattern for anyone who is decorating their homes for a Christmas soon to come.
This tree is not crocheted in one piece. Before it is stiffen with starch it reminds a fan. A great advantage is that if anyone crochets loosely or tightly it actually does not matter. When you put it on a polystyrene cone either there is a small gap you can decorate with a ribbon afterwards or you can fold the opposite sites over each other when it is slightly bigger and still it will look great. DO NOT FORGET TO USE FLAMELESS CANDLES (picture here).
Crochet Advent Trees
Height: 17 cm/6.6 in decoration included
Yarn: VlnaHep Camilla 8002 white, picture here (100% cotton,
Fiber content: 100% cotton
Weight: 50 gr. / 1.76 oz. per ball
Length: 125 m/136 yds per ball
Yarn thickness: 2 fine: sport, baby
Gauge: 26 stitches and 34 rows on 10×10 cm (4´x 4´)
Needle size: 3 mm/US 3
Polystyrene cone height 16 cm
Starch
Christmas decorative button, scraps of lace and ribbon, hot glue gun
Pins
4 pieces of flameless candles
2 balls are needed for 4 trees
For beginners
US terminology:
MC – Magic Circle
Sl St – slip stitch
CH – chain stitch
SC – single crochet
DC – double crochet
tog – together
Each row starts with either 1 CH = Single Crochet or 2 CH = Double Crochet.
You are going to crochet a fan shape.
1st row: 7 DC into MC, do not make a circle but with the 7th DC turn and continue back
2nd row: 2 DC into every second DC from the previous row, turn (11 DC)
3rd row: 2 DC into every second DC from the previous row, turn (17 DC)
4th row: 2 DCtog into first DC, 2 DCtog, skip one loop. Repeat. Turn. We established bases for six stripes.
5th row: 2 DCtog into DC from the previous row, 2 DCtog, 1 CH. Repeat. Turn
6th row: 2 DCtog into DC from the previous row, 2 DCtog, 2 CH. Repeat. Turn
7th row: 2 DCtog into DC from the previous row, 2 DCtog, 3 CH. Repeat. Turn
8th row: 2 DCtog into DC from the previous row, 2 DCtog, 4 CH. Repeat. Turn
9th row: 2 DCtog into DC from the previous row, 2 DCtog, 5 CH. Repeat. Turn
10th row: 2 DCtog into DC from the previous row, 2 DCtog, 6 CH. Repeat. Turn
11th row: 2 DCtog into DC from the previous row, 2 DCtog, 7 CH. Repeat. Turn
12th row: 3 DC into first loop, 4 DC into second loop (that is a shell of 7 DC), SC into 4th CH from the previous row. Repeat. Turn. That is the bases for a shell pattern which you can see on the bottom of the tree.
13th – 18th row: 4 DC into the first loop. SC in the fourth loop (that is in the middle of the shell), 7 DC into SC from the previous row. Repeat shell pattern. End with a SC. Turn.
Finish:
Soak the tree into the larch then put it on the polystyrene cone. Try to join the opposite ends, secure with pins, let it dry. Prepare a piece of lace and ribbon. Make a bow. Sew/glue a button and then glue it to the top of the tree.
That it is. Please click on any advertisement or share this pattern on social networks as a “thank you” for this free pattern.
If you have any questions please leave me a message in a chat box or in the form on the webpage (called Kontaktní formulář).
You can also subscribe to this website (called Odebírejte blog mailem).
Thank you very much for your visit.
Katy

-

- Háčkované adventní stromečky -návod na www.krampolinka.cz


-
- I just do not have a program for this 🙁


2 Comments
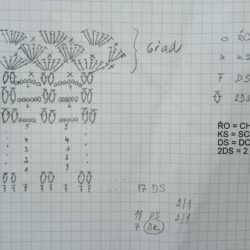
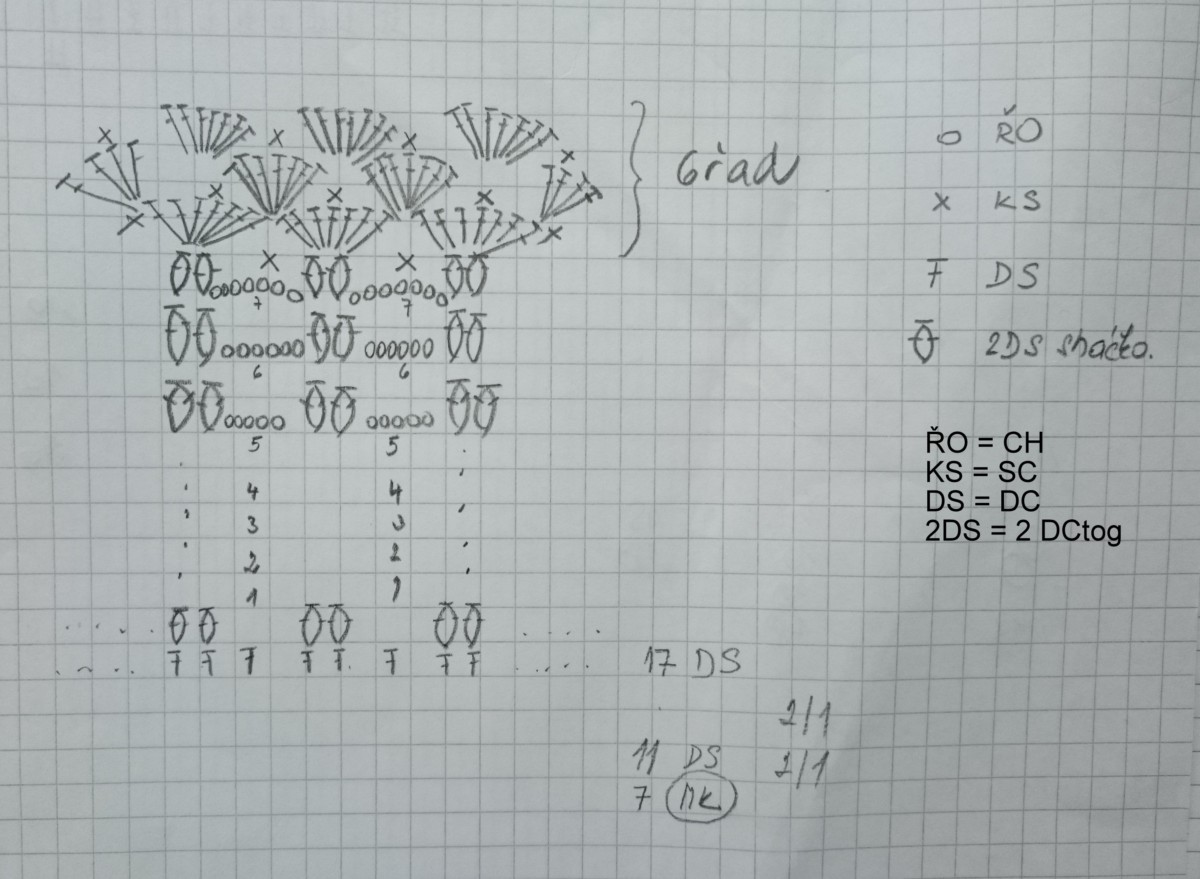
Hello, I am having trouble understanding your written instructions. Is there a CHART available ?
Unfortunatelly is not, I have only a picture which I think is of no help 🙁 I will add it to a gallery.